*For a recap/preview of my entire experience in bite-sized information, you can view my web stories here.
I began taking up sketch art during the first lockdown announcement when the pandemic started (March, 2020, Kuwait – to be exact). The more I drew, the more I learned about my artwork. It was as though with every sketch, I realized what the potential could be and how I wanted my sketches to look like. With time, I discovered a style I wanted to upkeep and I knew exactly what themes I enjoyed most – drawing mundane objects, shops, little houses, cozy corners, scenes I felt were nostalgic or emanated a certain mood. Then I started to include a little bit of people in my sketches too to add character. It wasn’t long before I also discovered Risography!

I’ve been seeking to print my artwork Riso-style, which conveys a unique, vibrant, and retro aesthetic. I looked abroad for Riso print rooms online until out of the blue I stumbled upon a risography studio in Kuwait called WarshaGraph. The studio had just opened and it was only beginning to settle. I contacted the people behind the studio and they offered to give me an advanced workshop plus a tour of the place, which sounded great!
The workshop is located in one of the towers of Kuwait City, which meant I had to meander my way (walking) from my parking spot to find the office located on the 32nd floor. It was an adventure, though!
The Risography guide, Romain Danger, greeted me outside the building and we ascended to the office floor.

Danger showed me a tour of the area starting with some of their first sample prints. We talked about risography and got to know each other’s work. Then there it was – the RISO Printer. The printer looks like a big scanner/photocopier you’d find in an office and its primary function served as just that – a photocopier in 80’s Tokyo, Japan. It was designed to photocopy paper in high volumes because it was convenient, affordable and quick.


The RISO printer prints one color at a time
Preparing artwork for the printer can be quite tricky and technical, but that shouldn’t get in the way if you are truly passionate about this form of printing and would love to see the glorious effects of it on your artwork.
There’s a technical way to prepare artwork for print as well as a manual method. The technical one requires that you scan your artwork and upload it on the computer. The colors in the artwork would then need to be separated using photoshop or illustrator and then saved independently in grayscale PDF for each color that’s going to be printed. The RISO machine only recognizes a monochromatic format. One-hundred percent black in each color layer, will print out as 100% of whichever color you are printing. Ninety percent
black will print as 90% and so on, hence various shades of black to white.
Each ink/color layer is printed individually (so that means the paper is passed through the printer several times). That’s why it is crucial to separate digital files for each colour you’ll be using. The title of each file should be the name of the ink colour such as greyscale fluorescent pink, for instance.

Now let’s move on to the less technical process 🙂
Manually preparing print for the risography machine
With the manual way, it’s the exact concept. You draw with layers in mind. Each ink color used is printed layer by layer, therefore you start your drawing on paper using any shade of black and then layer it with transparent paper on top to add another shade. Each shade will be a color depending on the intensity.

When it was time to print, the second step was to choose a catalogue of lovely papers of different colors, textures, and weights. .

What makes Risography beautiful?
The RISO machine is also eco-friendly and uses soy-based ink which produces unique outcomes. As Riso inks are semi-transparent, you can overlay them to create new shades and interesting effects. The beauty of Risography is you can expect unexpected results and more often than not, they look beautiful.
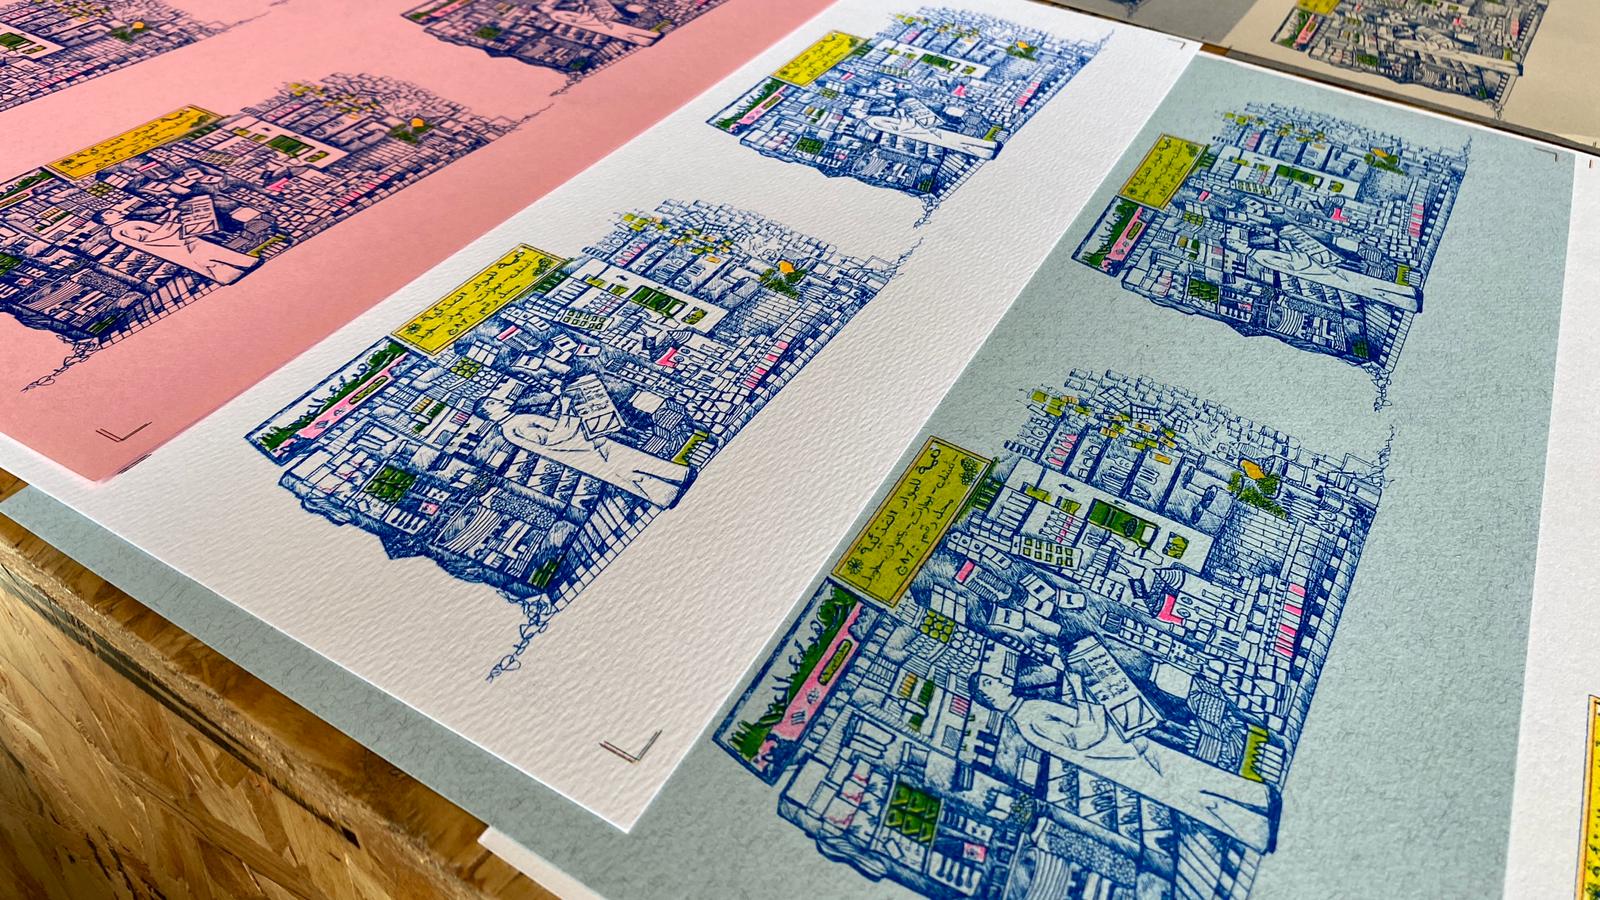
Prints sometimes contain imperfections but that is the beauty of these little flaws because in the end, it looks like a ‘handcraft’ print. I’m curious to print some of my photographs as well as I imagine they would look very 80’s magazine-like.

Because riso-printing is used mostly for digital artworks by graphic designers, seeing a hand drawn RISO print was something different and produced amazing effects. I was mind blown by the details that were captured since most of my drawings tend to be elaborate.


And that’s that! I will be back to complete my workshop (part 2) soon and trying the “manual” drawing method this time which should be fun!